Airstream Restoration
-
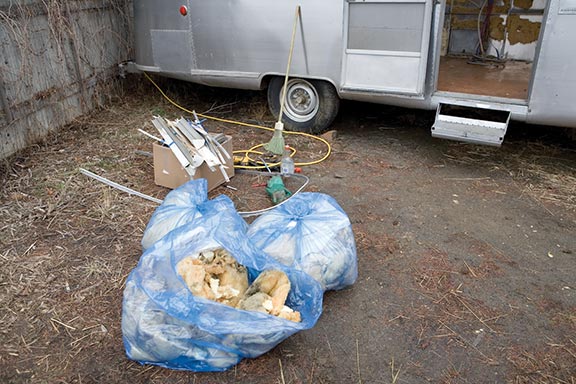 This wasn’t just a face mask job, it was a respirator/monkey suit/rubber gloves job. After all the unsavories were removed, she was washed thoroughly with a sponge and rubbing alcohol. Have a hot shower ready and waiting!
-
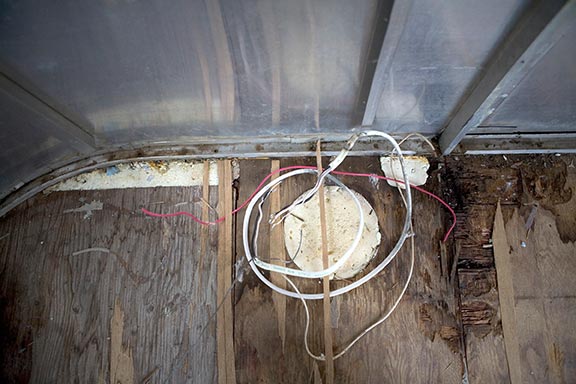
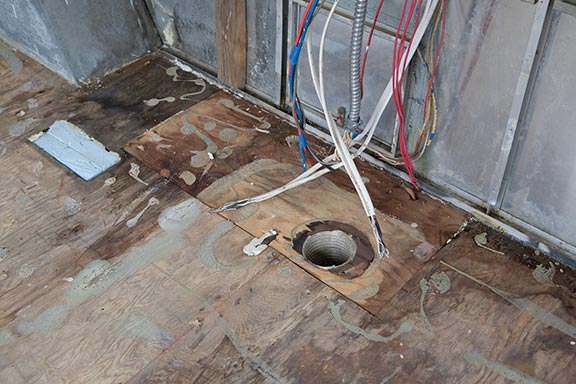 Travel trailers usually have both low-voltage wiring (lighting, etc. that runs off a 12-volt battery) and household-type wiring. I figured out I didn’t want to bother with low-voltage wiring, so beyond that, it was time to call an electrician.
-
 Next, the floor came out, using a pry bar.
-
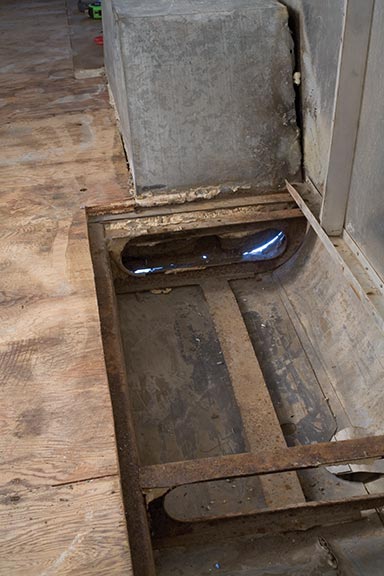
 Now I know why I decided to take up the recently installed faux wood floor. The plywood subfloor was rotten in places and would need to be replaced. It wasn’t too bad, so it was merely patched in a couple of places using a skill saw to cut out the old, paying close attention to where the steel framing was below the subfloor.
-
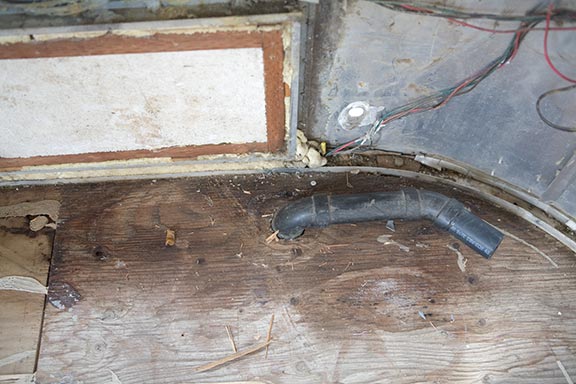
 Note: I took out the blackwater holding tank for sewer wastes and opted for just gray water. I’ll be using a porta-potty instead.
-
 The hole was filled with foam.
-
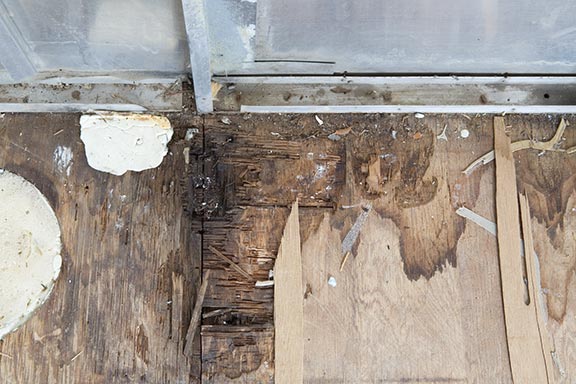
 I FOUND IT!!!!! Here’s where the mice were coming in. (You’ll see some of that steel framing in this photo, also.)
-
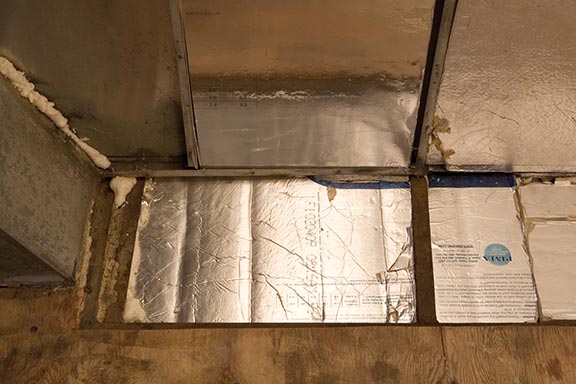
 I used foil-faced rigid insulation to begin. Leftovers from other projects were also used.
-
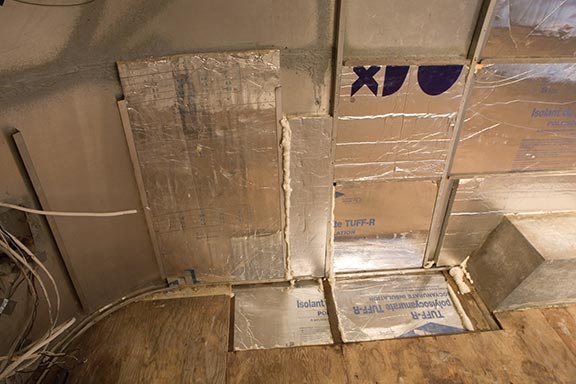
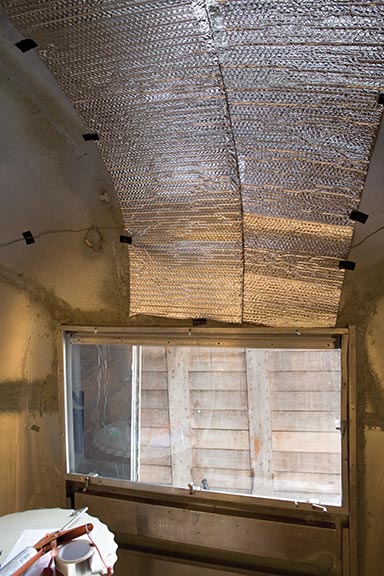 For curved panels, I settled on foil-faced poly bubble insulation, and in some cases, rigid insulation scored on the convex side to conform to a particular arc.
-
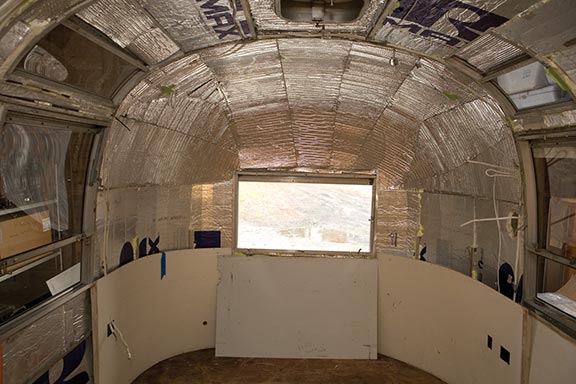 Once she was insulated, some of the painted aluminum panels were cleaned and riveted in place back where they belong. Some of the existing wiring was used, but more about wiring later.